
* * * * * * * * * * * * * * *
CHALLENGE SOLUTION
* * * * * * * * * * * * * * *
At the start of the Challenge the Jetsetters were split into an 'Easy Room', a 'Medium Room' and a 'Hard Room'. What they didn't know however is that those three rooms were mostly identical to each other.
Each room contained 3 puzzle chains: one short and easy (picked by Lucas), one longer and difficult (picked by Freya), and one in between (picked by Kiki). In each room two of those paths lead to a dilemma the Jetsetter could take, the remaining path would lead to an object that would help them escape their room, AND that could help them find a third dilemma in the merged room.
Without further ado, here are the actions each Jetsetter would have to make to play the perfect game.
* * * * * * * * * * * * * * *
EASY ROOM SOLUTION
* * * * * * * * * * * * * * *

STEP 1 - Look at the small painting of a lighthouse, it has a puzzle. Solve the puzzle to gain a screwdriver with a code hidden.

STEP 2 - Use the screwdriver to open the air conditioner, so you gain access to a code lock.

STEP 3 - Put the code 2-5-7-9 into the code lock.


STEP 4 - Behind the code lock is a pickaxe for Lucas to pick his way out, Pearl's dilemma for Kiki and Meredith's dilemma for Freya.
* * * * * * * * * * * * * * *
MEDIUM ROOM SOLUTION
* * * * * * * * * * * * * * *
MEDIUM ROOM SOLUTION
* * * * * * * * * * * * * * *

STEP 1 - Look at the medium painting of a car, it has a puzzle. Solve the puzzle to get access to a water tap.

STEP 2 - Search through the sand in the corner next to the tiny and big paintings to find a can.

STEP 3 - Fill the can with water from the tap.

STEP 4 - Extinguish the flame in front of the clock with the water.

STEP 5 - The clock has to be set at the right time. Look around the room for clues to solve the clock riddle, by using the carpet to deduce the clock has to be set at 9:30.


STEP 6 - Inside the clock is a shovel for Kiki she can use to break out, Jerry's dilemma for Lucas and Oliver's dilemma for Freya.
* * * * * * * * * * * * * * *
HARD ROOM SOLUTION
* * * * * * * * * * * * * * *
HARD ROOM SOLUTION
* * * * * * * * * * * * * * *

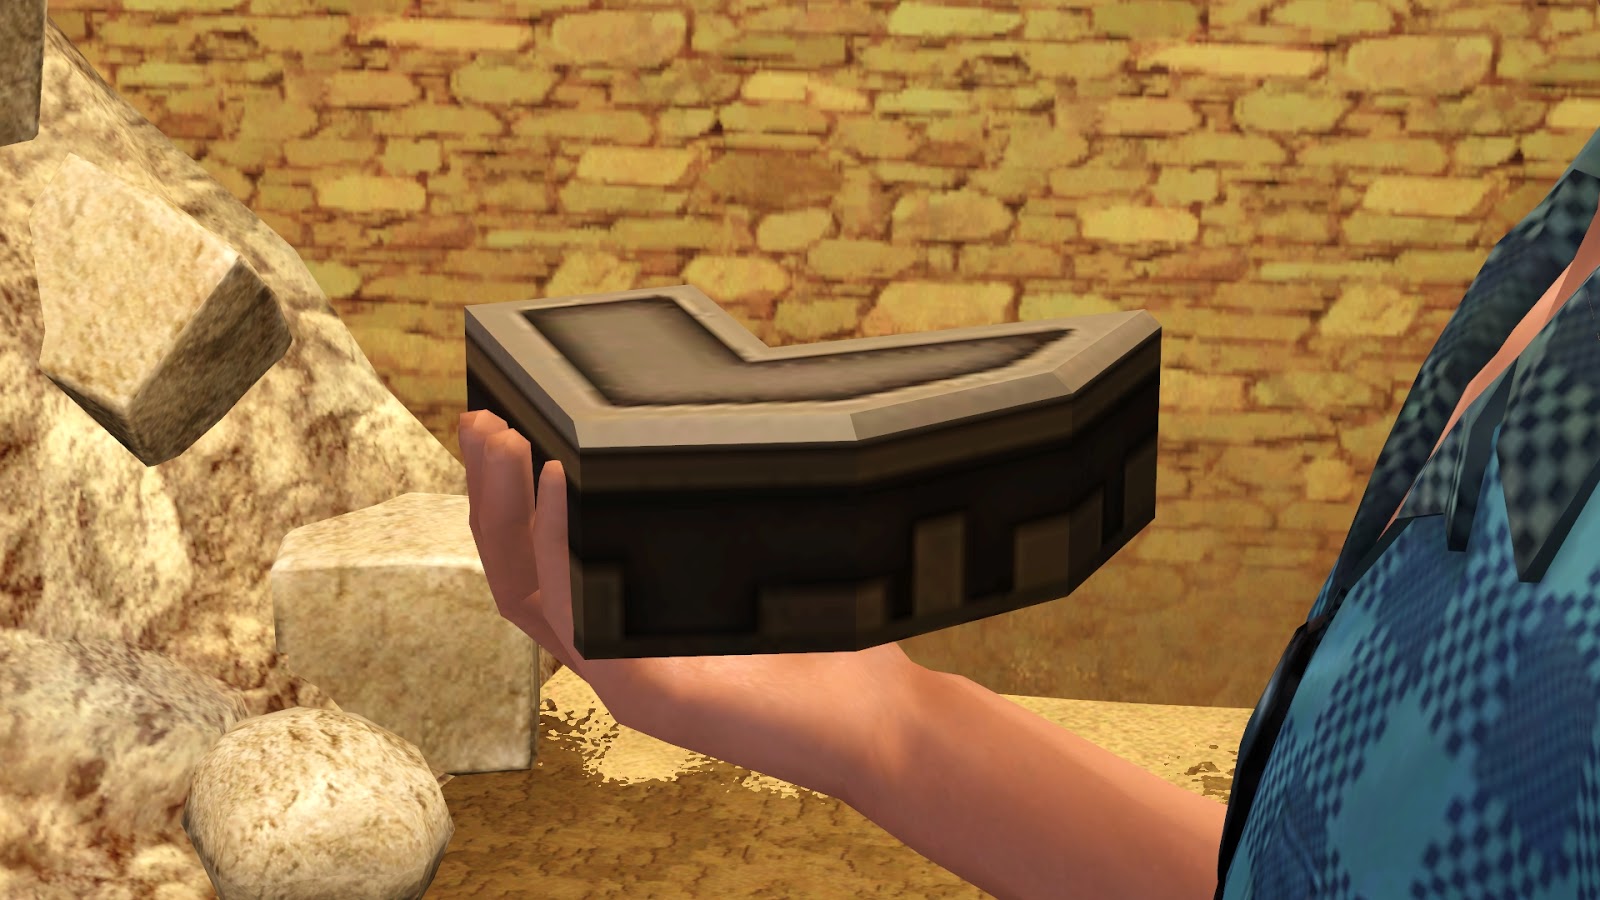
STEP 1 - Look at the big painting of pyramids, it has a puzzle. Solve the puzzle to get access to a battery with a code clue.

STEP 2 - The code panel has no battery. Insert the battery into the panel to make it functional.


STEP 3 - Use the letters on the walls and the code on the battery to figure out the code 151 and put it into the code panel. A hidden compartment with a statue will now appear.

STEP 4 - Place the statue on the table under the right portrait. The drawer will make an unlocking noise.

STEP 5 - Open the drawer. It has a chainsaw in it.

STEP 6 - Use the chainsaw to cut through the red cloth. There's a hidden room with another statue behind it.

STEP 7 - Place the statue on the same table as the first statue, under the other portrait. A hidden compartment in the drawer opens.


STEP 8 - Inside the drawer compartment is a bottle with rock acid for Freya to throw at the wall, Wendell's dilemma for Lucas and Euphelia's dilemma for Kiki.
*
*
*
*
*
To gather the key needed to escape the Merged Room, three subtasks had to be completed. Each of those subtasks would drop a key part and those three key parts, plus the one already lying around freely, can be combined into 1 key, which would then be used to unlock the staircase and escape.
* * * * * * * * * * * * * * *
MERGED ROOM SOLUTION
* * * * * * * * * * * * * * *

STEP 1.1 - Open the top cabinet door to reveal the lasers

STEP 1.2 - Grab the lasso rope from the wall
STEP 1.3 - Lasso the key piece from the cabinet

STEP 2.1 - Find a lighter under the bench

STEP 2.2 - Use the lighter to turn on the torch

STEP 2.3 - Grab the lit torch

STEP 2.4 - Use the lit torch to melt the ice sculpture

STEP 3.1 - Open the bottom cabinet drawer. This will cause some candles to turn on.

STEP 3.2 - Press the 3 knifes that correspond with the lightened candles

STEP 4 - Piece the stone pieces together into a key

STEP 5 - Put the completed key in the key plate. This will cause a staircase to appear and ends the escape part
*
*
*
There were also three bonus tasks, each one of them requiring an object that had to be obtained in the separated rooms. Each of those tasks would lead to one more dilemma to bring along.
* * * * * * * * * * * * * * *
BONUS DILEMMA 1 (PICKAXE)
* * * * * * * * * * * * * * *

STEP 1 - Pick at the rubble with the pickaxe.

STEP 2 - Try to pick at the dilemma part.

STEP 3 - Inside the rubble Jayda's dilemma can be found.
* * * * * * * * * * * * * * *
BONUS DILEMMA 2 (SHOVEL)
* * * * * * * * * * * * * * *

STEP 1 - Search through the sand in the sand pile.

STEP 2 - Dig deeper with the shovel in the sand pit.

STEP 3 - At the bottom of the sand pile you find Hannes' dilemma.
* * * * * * * * * * * * * * *
BONUS DILEMMA 3 (BOTTLE)
* * * * * * * * * * * * * * *

STEP 1 - Place the rock acid bottle on the pillar.

STEP 2 - Behind the pillar a window will reveal.

STEP 3 - Smash the window to get Ethan's dilemma.
And that is the full correct solution to the Escape Room Challenge. If this Challenge was to be played perfectly, all 9 dilemmas could've been gathered and everybody could've escaped in 38 out of 60 steps. But in the end only Lucas escaped with only 2 dilemmas in 51 steps, leaving 7 dilemmas and Freya behind in the ruins. So where did this all go wrong?
*
*
*
*
*
*
*
*
*
And...
*
*
*
*
*
*
*
*
*
... Another fun fact...
*
*
*
*
*
*
*
*
*
... A total of 18 dilemmas has been answered back in China. But only 9 of them appeared in here, one per twin pair that made it to China. How was it decided which twin's dilemma was chosen for this Challenge? And how was it decided where each dilemma appeared?
*
*
*
*
*
*
*
*
*
That is just one part of the Challenge where the Assassin has striked.
Good luck and lots of wisdom. The finale is near.
No comments:
Post a Comment